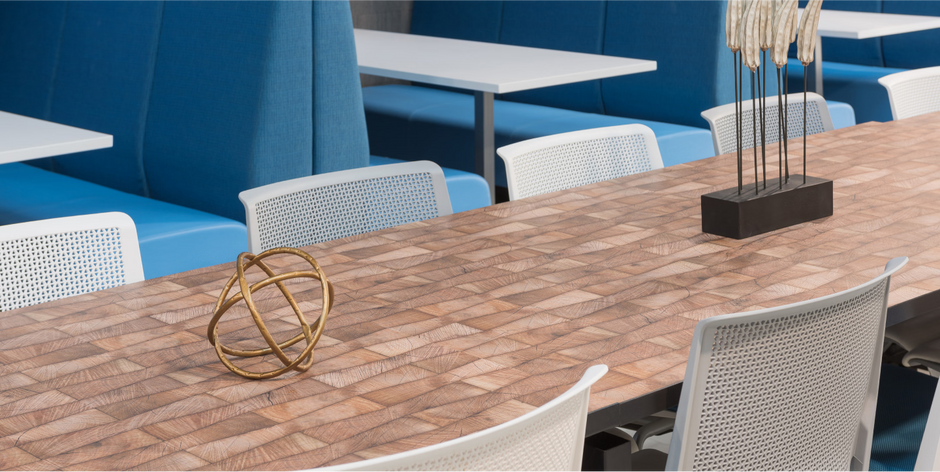
Formica laminate is a popular choice for countertops, tabletops, and other surfaces due to its durability, affordability, and wide range of styles. Installing Formica can be a rewarding DIY project, allowing you to upgrade your space with a sleek and modern look. This guide will walk you through the process, making it easy to achieve professional-looking results.
What You'll Need
Gather these materials before you begin:
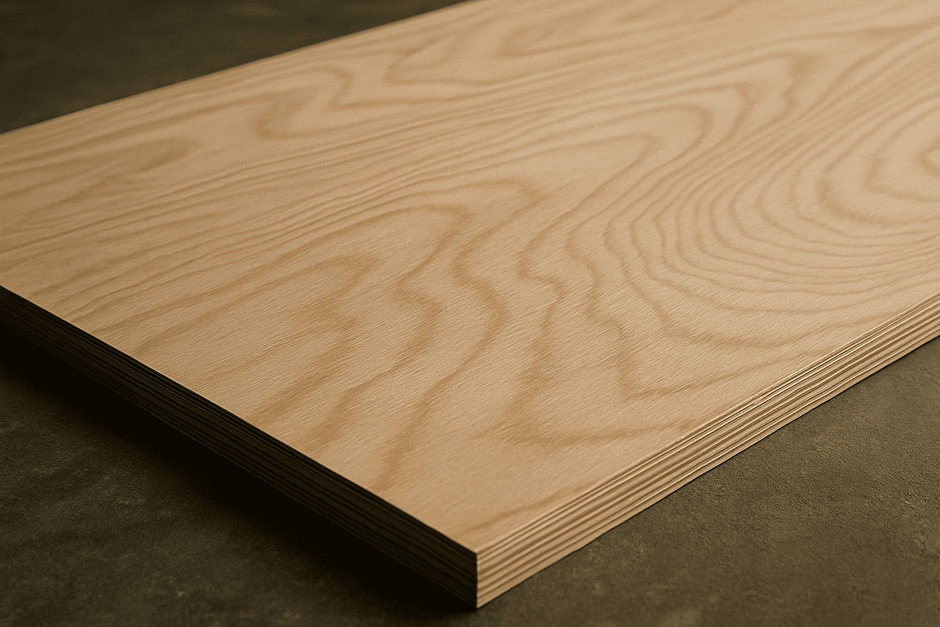
- Formica laminate sheet: Choose the design and size you need.
- Substrate (e.g., plywood or MDF): The surface you'll be applying the Formica to.
- Contact cement: A strong adhesive specifically for laminates.
- J-roller or laminate roller: To apply even pressure.
- Router with a flush trim bit: For trimming excess laminate.
- Utility knife or scoring tool: For rough cutting the laminate.
- Measuring tape: For accurate measurements.
- Pencil: For marking.
- Safety glasses: To protect your eyes.
- Gloves: To protect your hands from contact cement.
- Paintbrushes or rollers (for contact cement): For applying the adhesive.
- Mixing stick (if needed for contact cement): Step-by-Step Installation Guide
1. Measure and Cut the Formica
- Measure the substrate: Carefully measure the surface where you'll be applying the Formica. Add an extra inch or two to all sides for trimming.
- Cut the Formica: Lay the Formica sheet face down on a clean, flat surface. Use a utility knife or scoring tool and a straight edge to score the back of the laminate along your measurements. Snap the laminate along the score line.

2. Prepare the Substrate
- Ensure a clean surface: Make sure the substrate is clean, dry, and free of dust or debris. Sand down any rough spots for a smooth surface.
3. Apply Contact Cement
- Apply to both surfaces: In a well-ventilated area, apply an even coat of contact cement to both the back of the Formica sheet and the surface of the substrate. Follow the manufacturer's instructions for application and drying time. This usually involves applying two coats and letting them become tacky to the touch.

4. Bond the Formica to the Substrate
- Careful alignment: Once the contact cement is tacky on both surfaces, carefully align the Formica sheet over the substrate. Be precise, as the bond will be immediate and permanent once contact is made.
- Apply pressure: Starting from one edge, use a J-roller or laminate roller to apply firm, even pressure across the entire surface of the Formica. This ensures a strong bond and eliminates air pockets.
5. Trim the Excess Laminate
- Use a router: Once the contact cement has fully cured (refer to the manufacturer's instructions), use a router with a flush trim bit to carefully trim the excess Formica from the edges. Guide the router along the edge of the substrate for a clean, even cut.
- File the edges: For a smooth finish, lightly file the edges of the Formica with a fine-grit file.
Tips for a Perfect Installation
- Work in a well-ventilated area: Contact cement fumes can be strong.
- Take your time with alignment: Once the Formica touches the substrate, it's very difficult to reposition.
- Apply even pressure with the roller: This is crucial for a strong bond.
- Keep your router moving smoothly: Avoid stopping in one place to prevent damaging the laminate.

Installing Formica can transform your surfaces, providing durability and style. By following these steps carefully, you can achieve a professional-looking result that will last for years to come.